Viewing entries in
wedding photography

Winter Weddings!

Comment

Winter Weddings!

Why hesitate to get married in the winter?

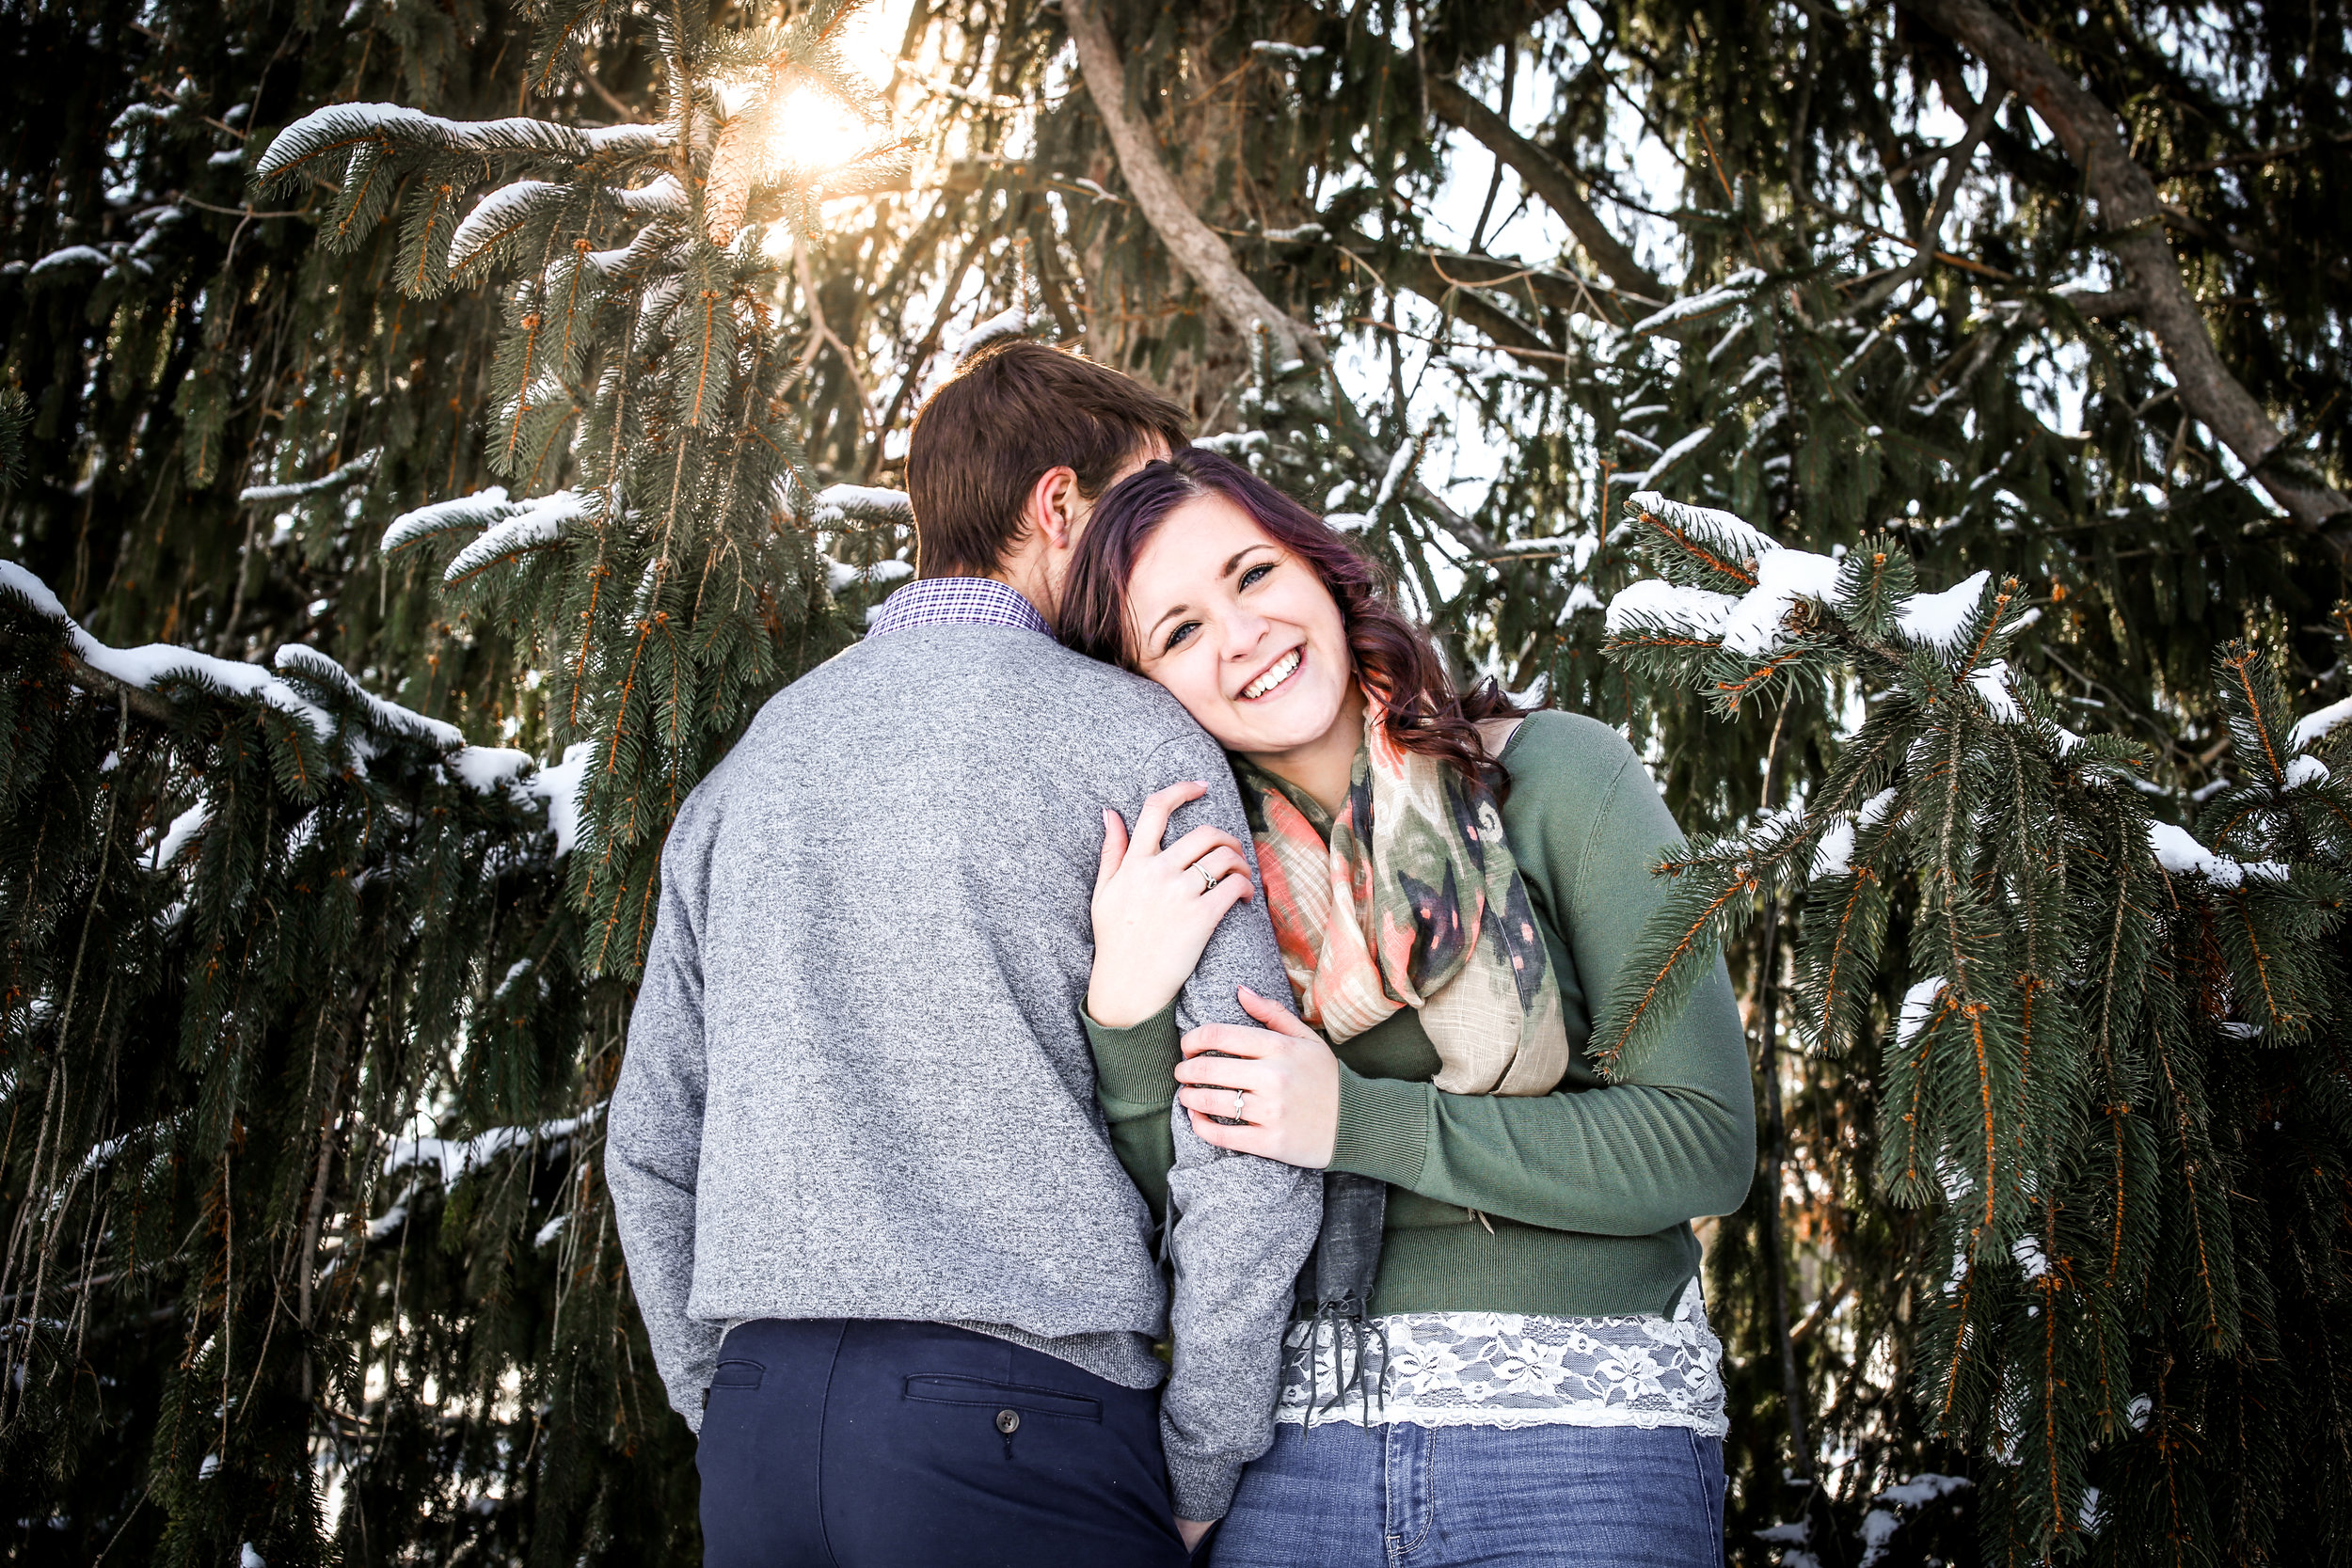
SNOW creates a magical, fairytale setting for your wedding day. Snow on the ground makes for a romantic look and the bright GLOW of reflected light. There’s just something about WINTER LIGHT that is completely different then any other time of the year. Because of the white on the ground, light bounces everywhere with nothing to stop it and covers your face in the most flattering light! Snow also matches your dress! If the snow is falling and the sky is overcast… this is the perfect opportunity for some intimate, cozy photos with your LOVE.

why a winter wedding can be a good idea…

1) MOST venues offer discounted rates in the winter!

2) Many of your guests are less busy and will be more likely to attend in the winter (January-March)

3) Because winter is not as busy, more vendors and venues are available…so you will be more likely to book the vendors (and photographers ;) you want!

4) Planning a warm or tropical honeymoon will be even more exciting when you can escape the cold here at home!

Tips for a making your winter wedding Wonderful!

1. Some COLOR COMBINATIONS that are perfect for the season >>

NAVY / CRANBERRY / EMERALD GREEN / DEEP PURPLE / GREY / BLACK / JEWEL TONES - ROSE GOLD, GOLD, SILVER

  • When choosing your winter wedding colors, a POP OF COLOR is also essential! Flowers are the perfect accessory to get creative with and add that pop of delicious color… Navy with Pink or coral bouquets / Cranberry dresses with blush and pink or orange / Emerald Green with white or cranberry / Purple with mixed greens, oranges, or whites / Grey is so versatile and looks great with any color of flower / Black looks amazing with blush, or a mixed color bouquet.

2. Bring a fur coat or cozy wrap to wear over your wedding dress! For practical purposes to stay warm and also this can be a stunning vintage touch! Perhaps you have a special fur or cape from your grandmother that will not only look amazing, but will be a tribute to her <3

3. Wear snow boots for trekking outside for portraits…this will keep you warm and look super cute for photos! Umbrellas also work well for the snow!

// Some of our favorite winter sessions //

Comment

Wedding Paintings! Learn the process
Comment

Wedding Paintings! Learn the process

Wedding Event Portrait Painting

In this post I will walk you through the steps to accomplishing a Wedding Painting! I know many of you are curious about how this "Performance Painting" thing works at a wedding.

Performance Painting? What's that?!!

 ...My definition, the reason I call it a "performance" :

  • Painting with enthusiasm - with intent to provide entertainment for your guests throughout the evening, as well as a beautiful portrait the couple can keep that night! Performance is a focal point where people get to actually see art happen...watch the process and the final piece come together!... START to FINISH! How cool!

MICHELLE & JACQUES, May 26 2018

STEP #1. CAPTURING MY SHOT! 

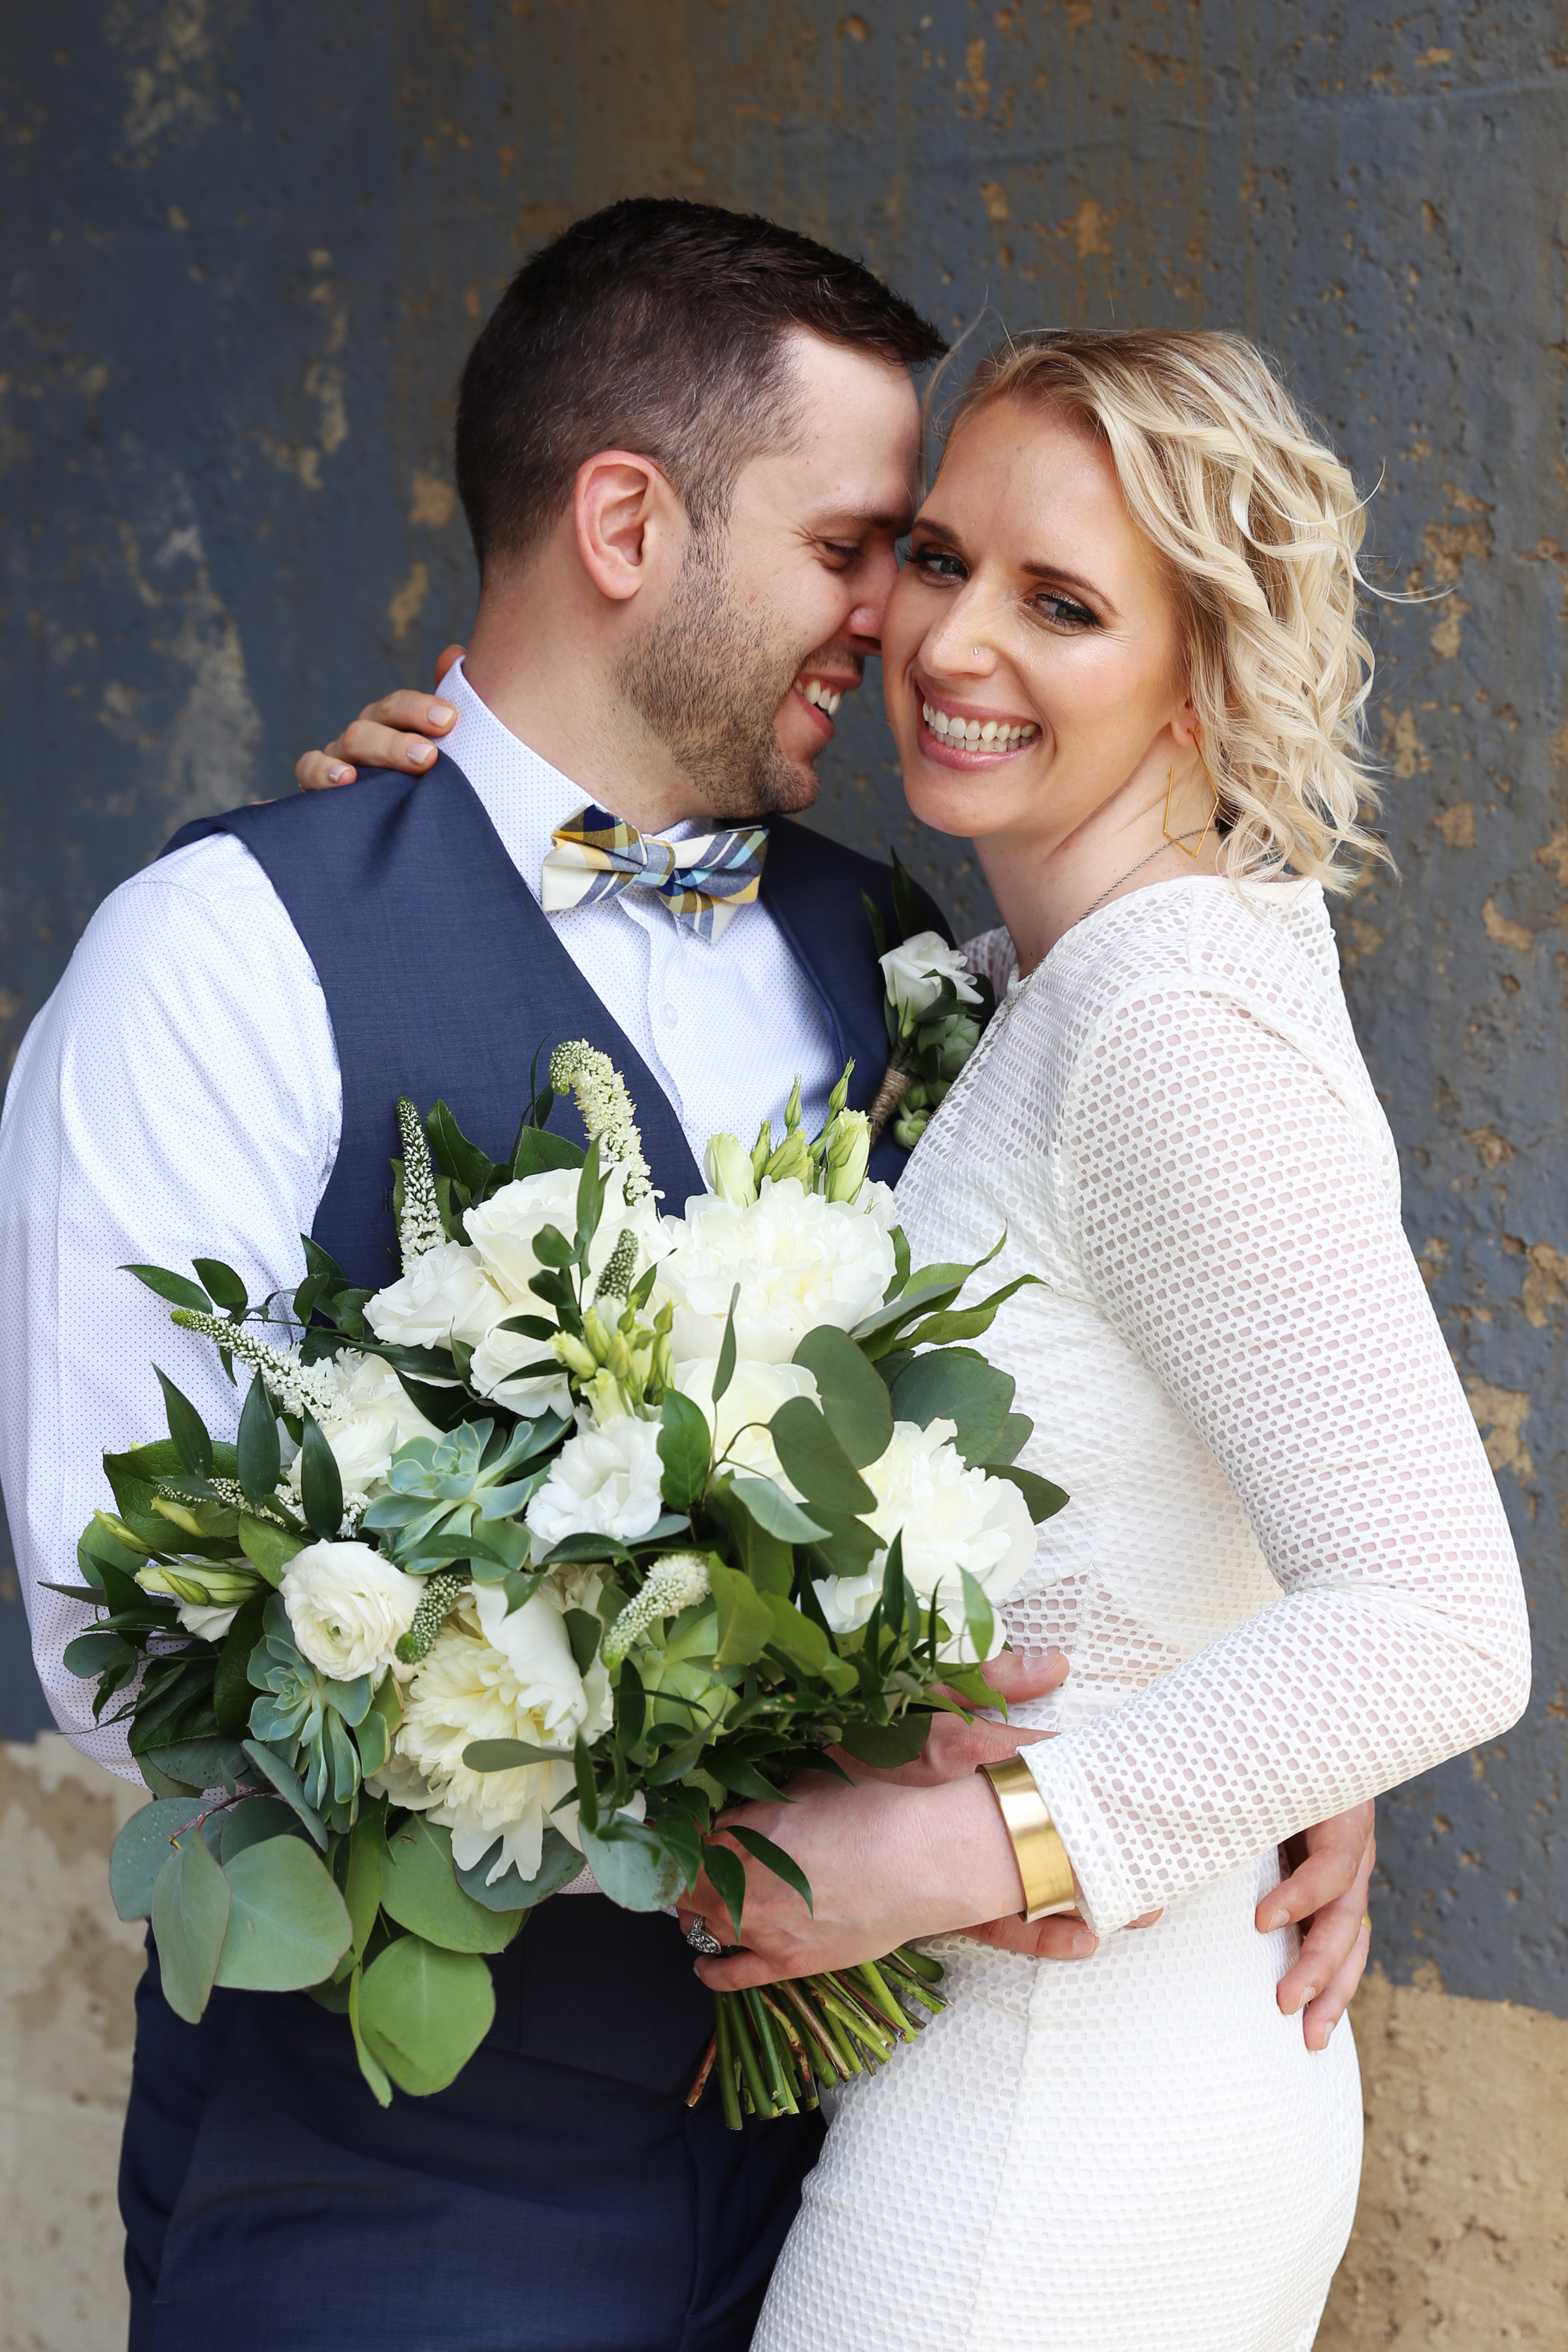
I communicate with the couple and their photographer to find out where and when they will be taking their portraits so that I can meet them there to capture my own reference photos for the painting. I always take my own photos to use for the painting so that the work is completely mine and I can portray the couple through my perspective. I take into consideration the direction of the light, design, focal point, emotion, body language, and the colors I want to include.  I want to be able to communicate their genuine emotion on their wedding day. Michelle was absolutely glowing on the day of her wedding and over the moon happy which is why I chose a photo that showed how happy she was and how much Jacques adores her :) So cute, aren't they? 

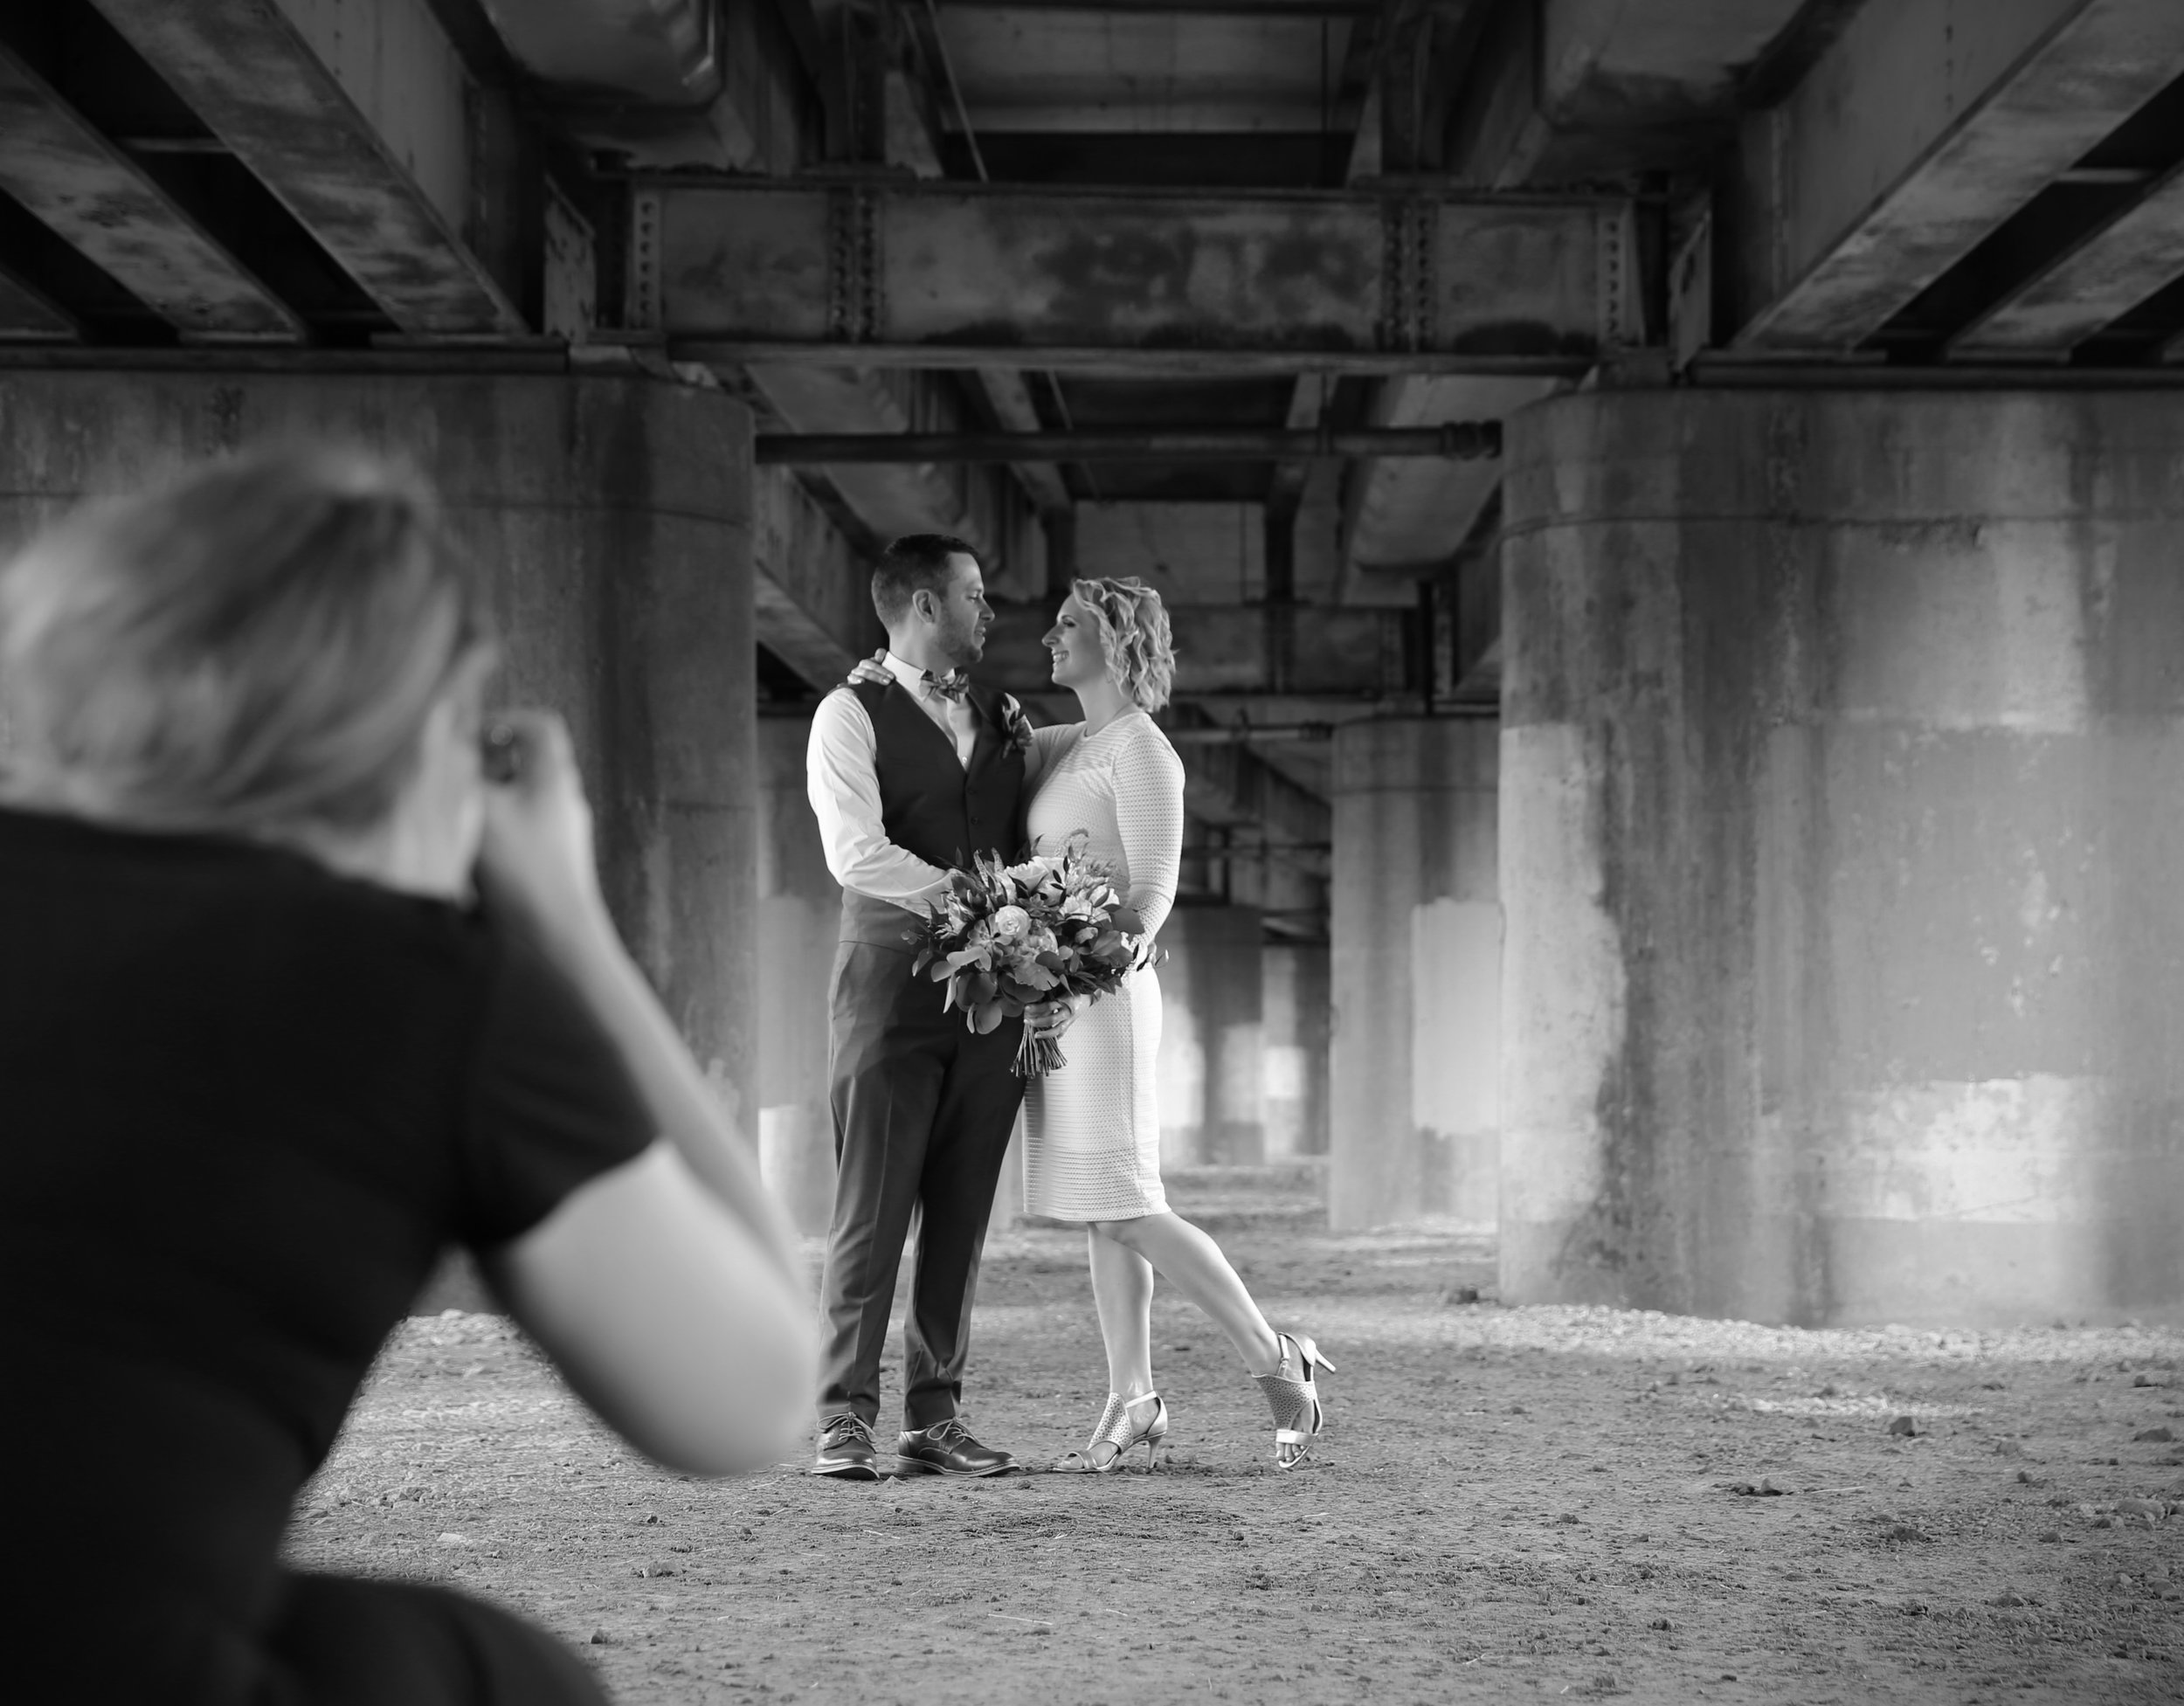
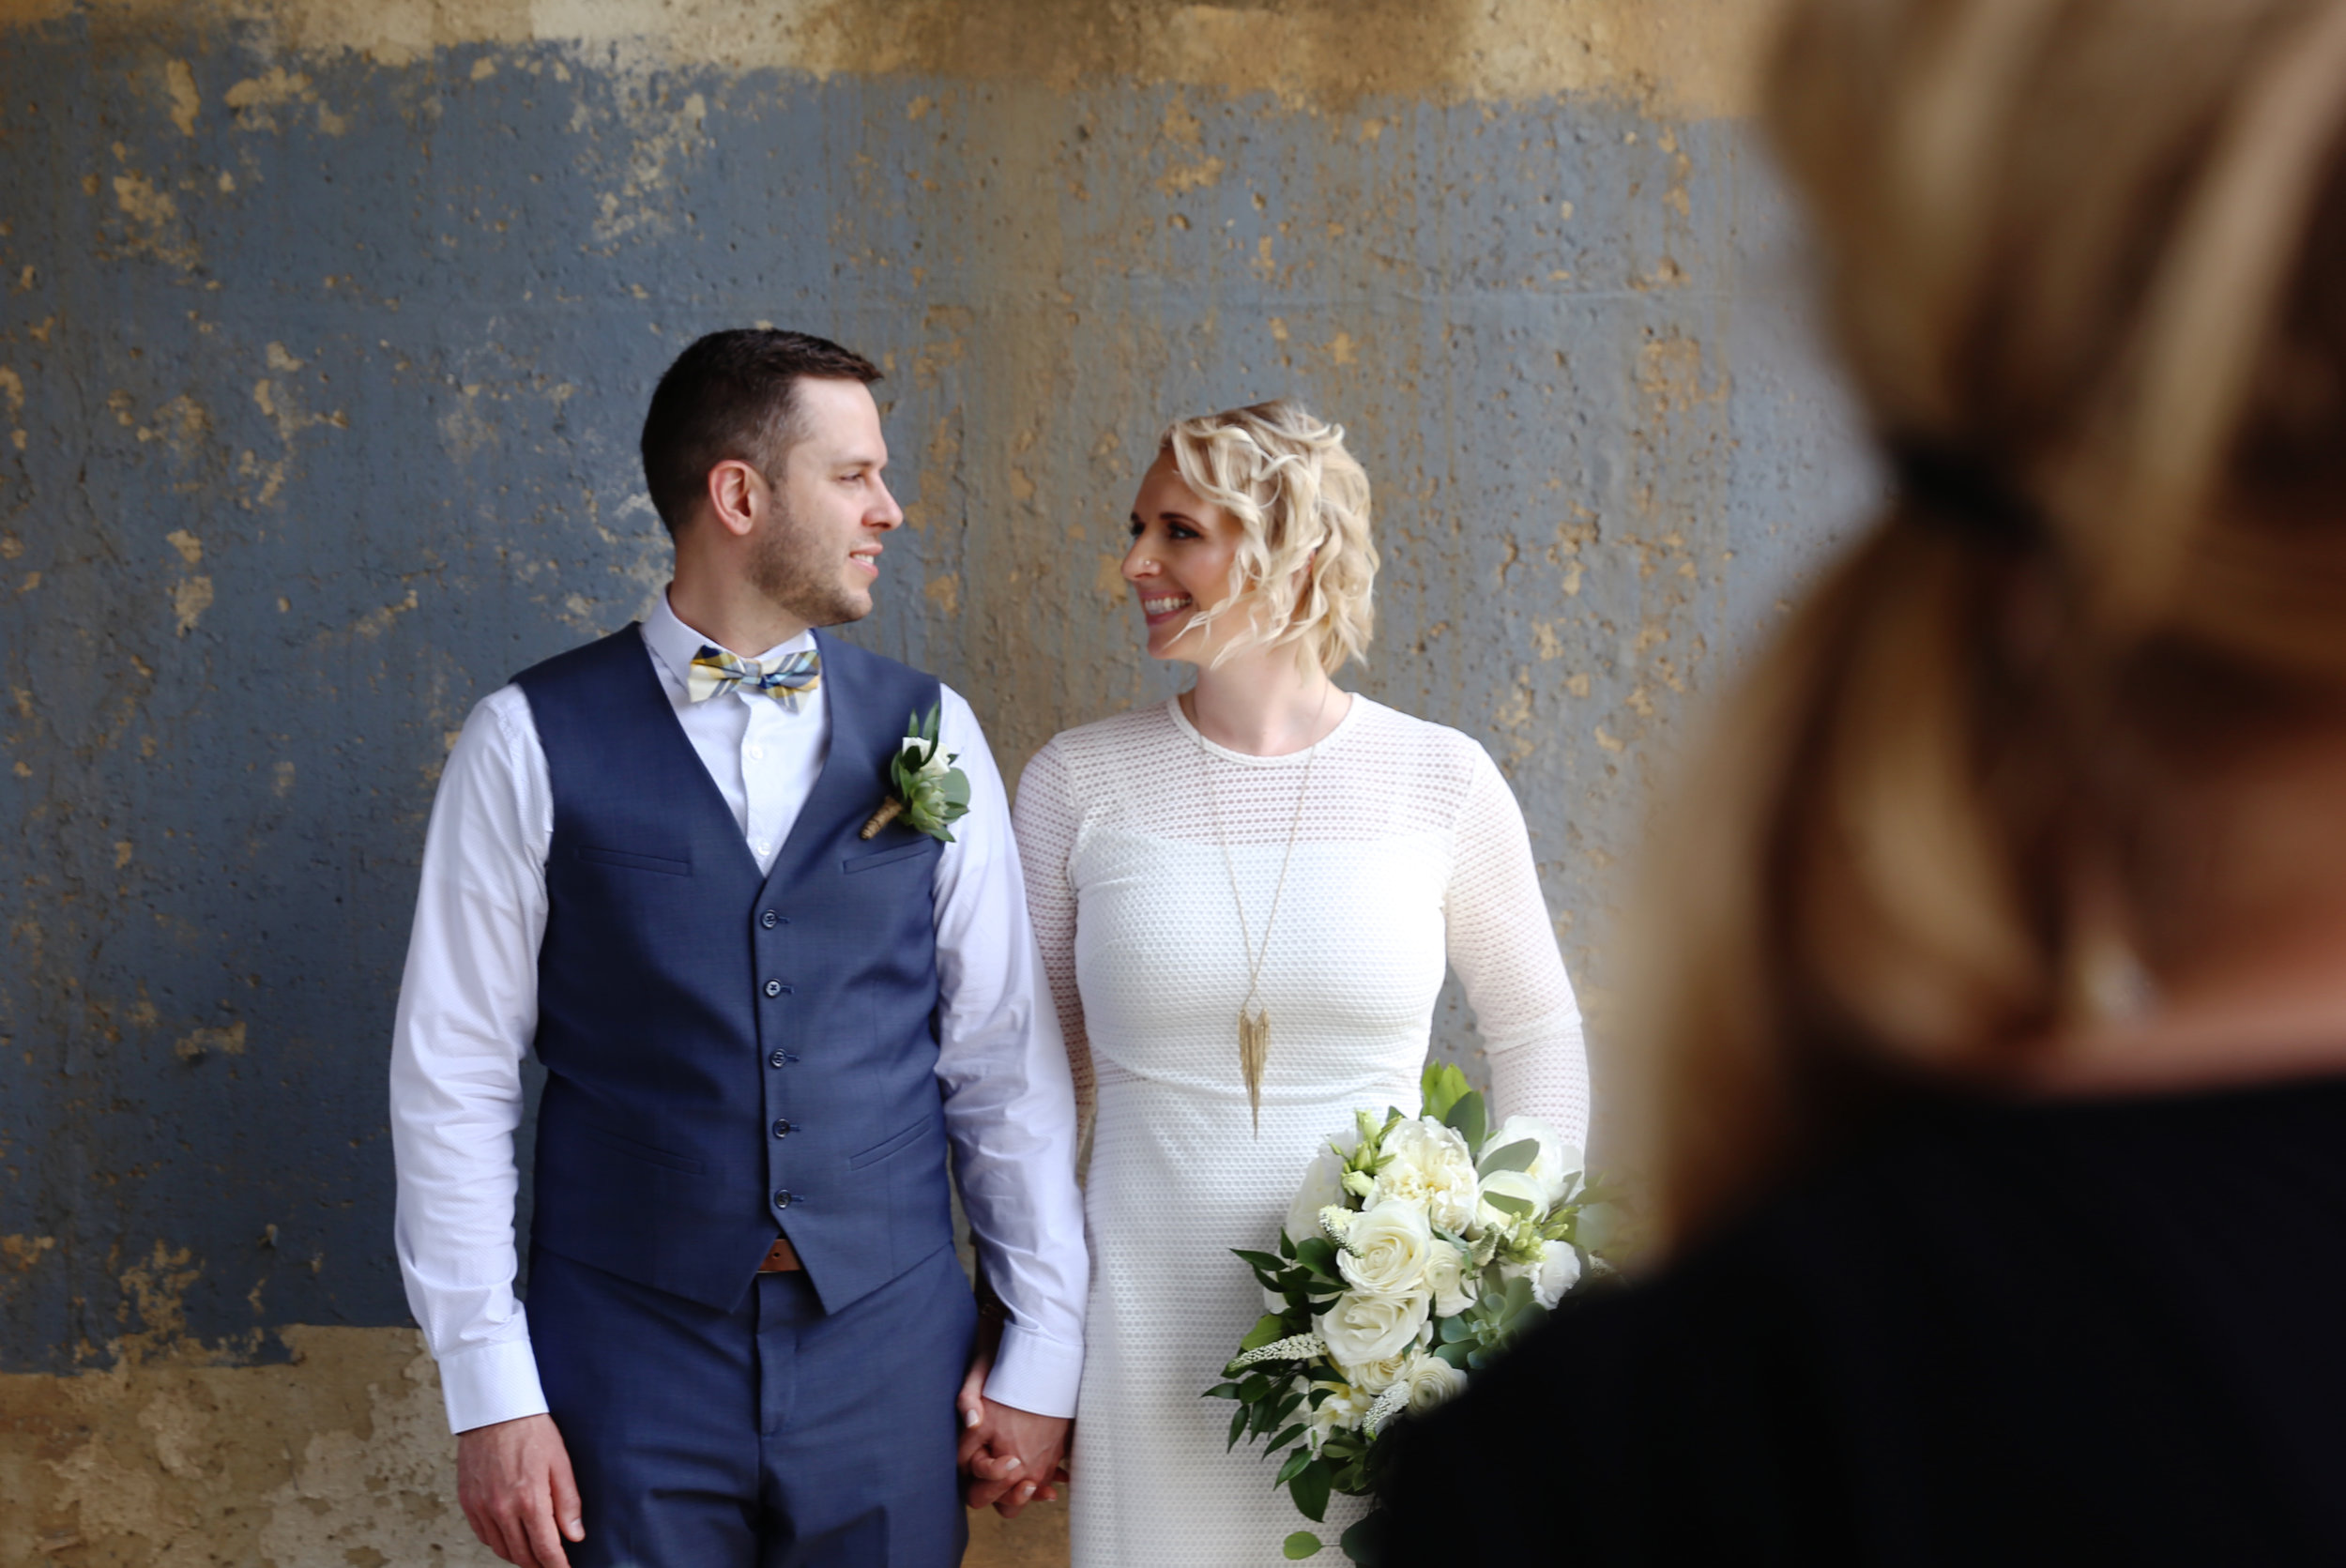
Here are a couple pics of their photographer hard at work! 

STEP #2 CHOOSING A REFERENCE PHOTO! 

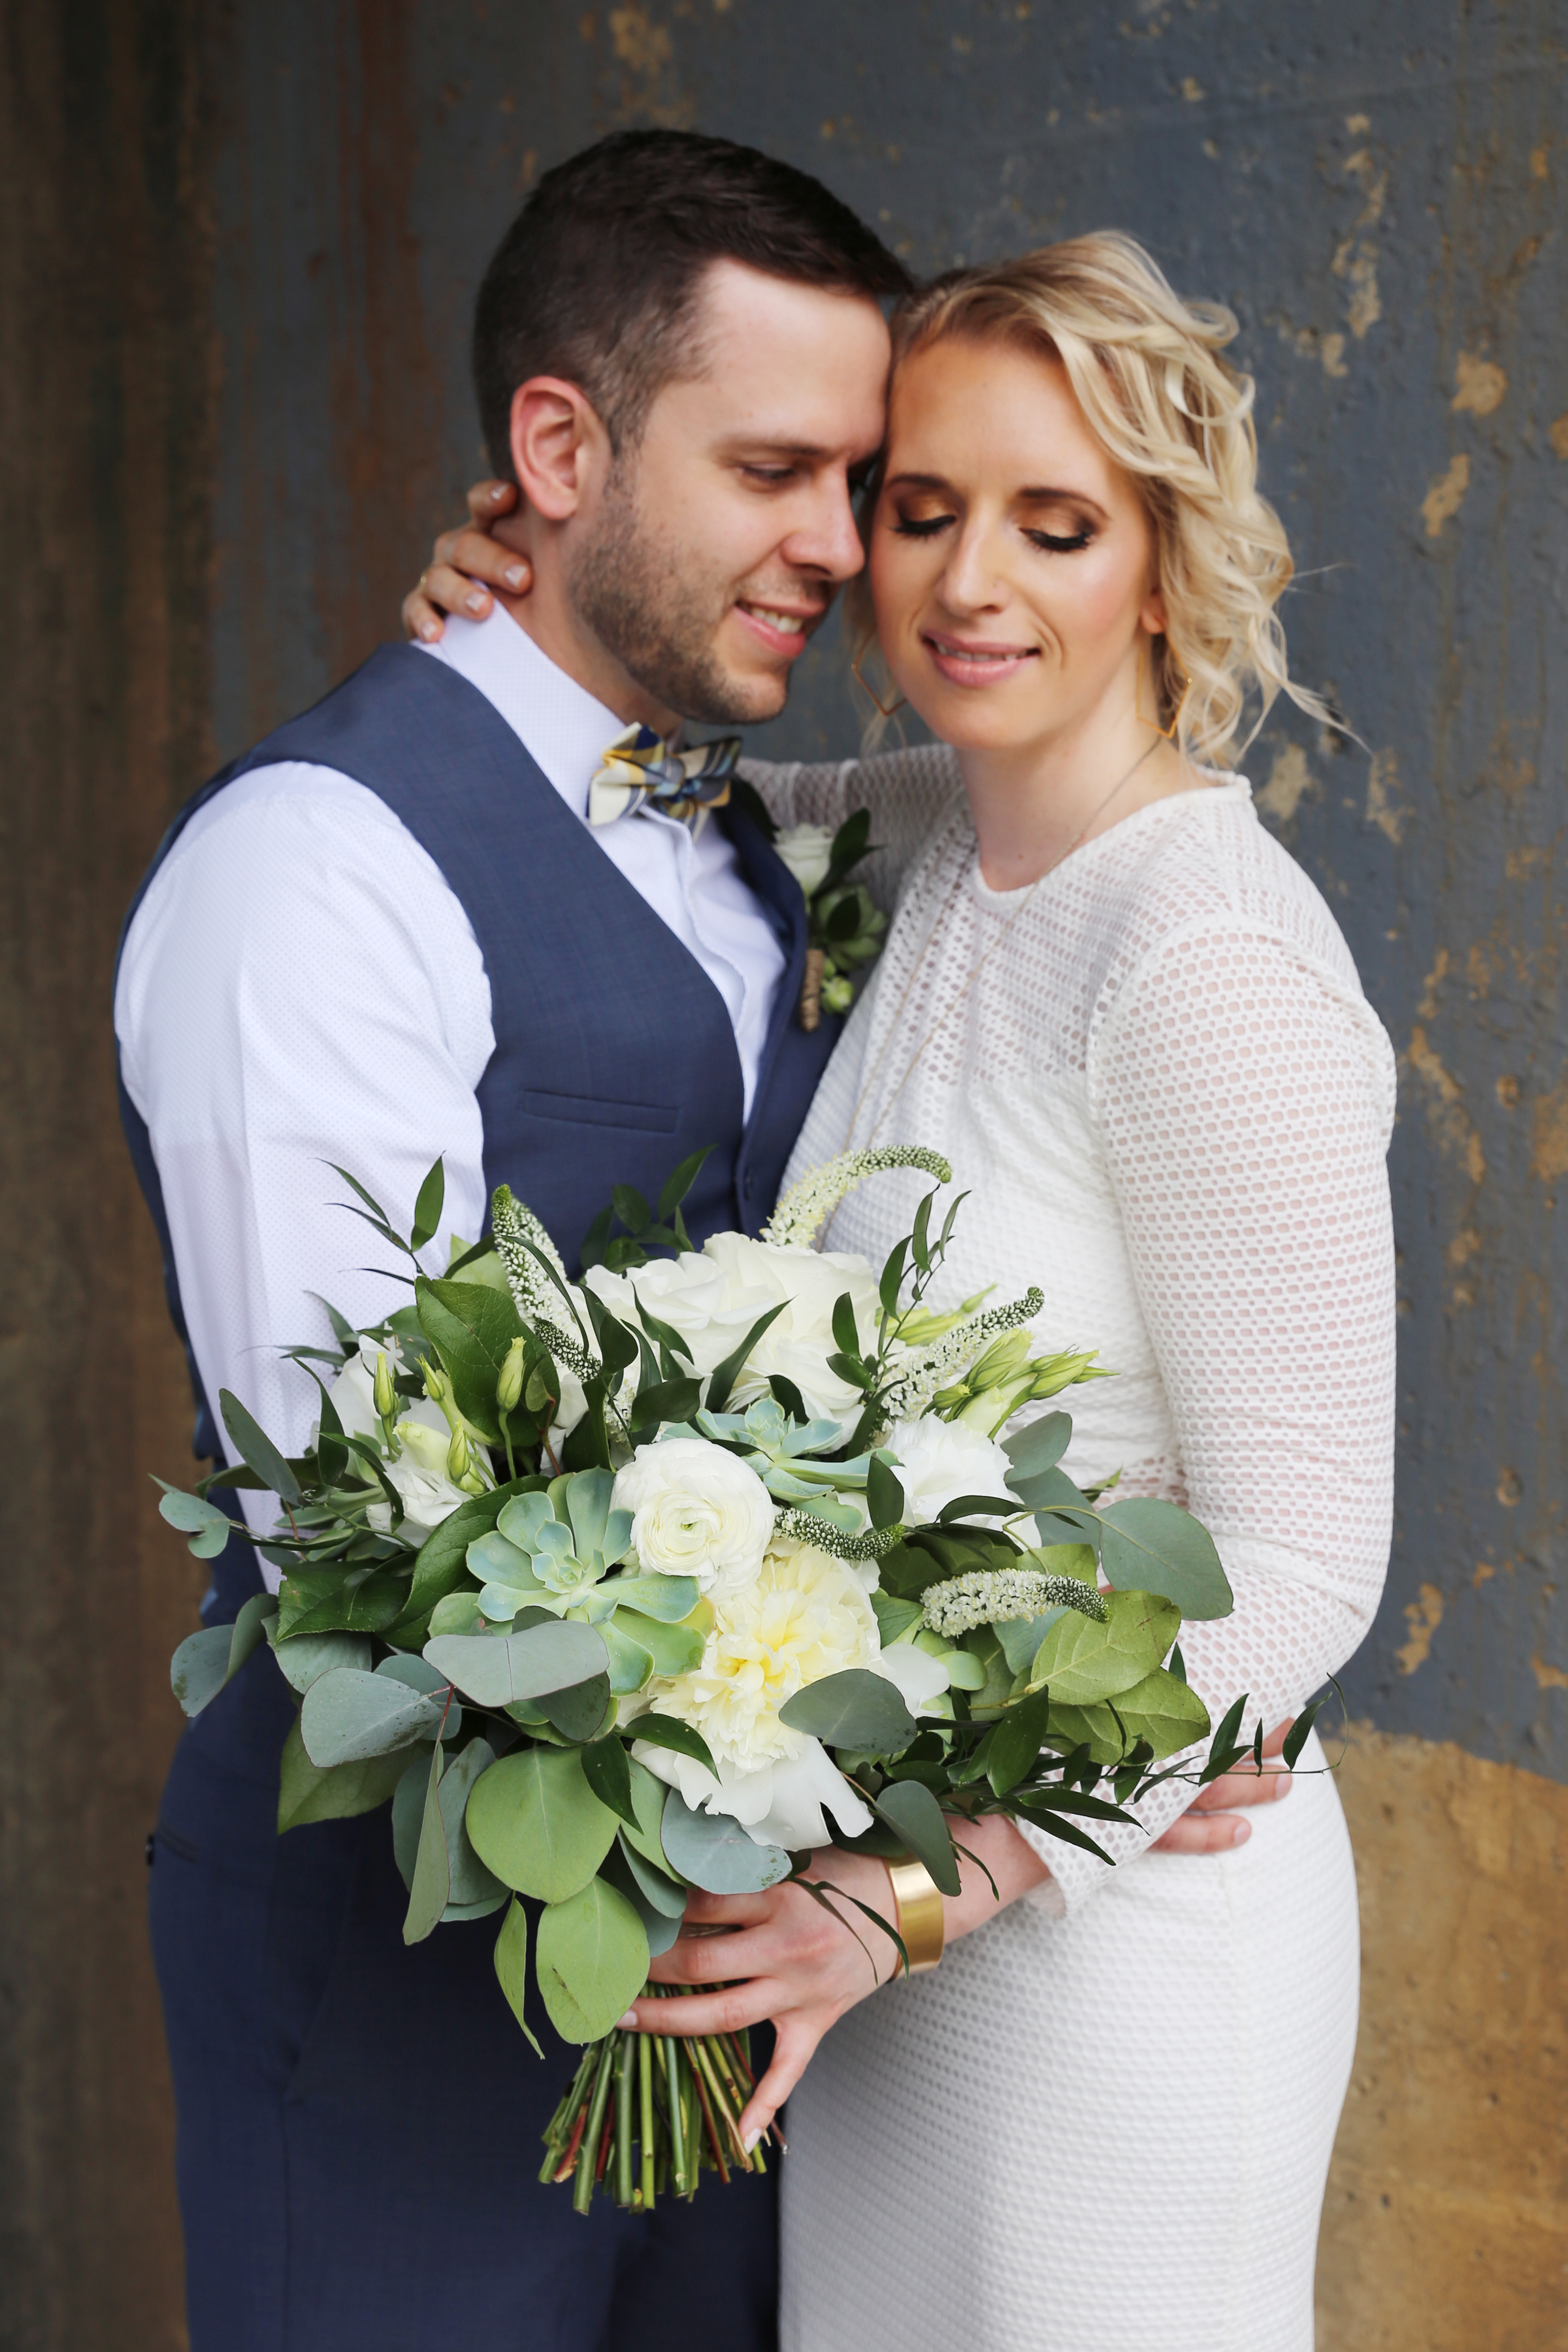
After I have captured them in the pose I want with their body language, I will then load those photos onto my computer and choose which one to paint! What a hard job! Sometimes it is really hard to decide which one I love best because I love them all!...but ultimately I have to decide. Usually I go off of just one photo when I do a portrait painting...but in this case I combined 2 different photos for the design. I loved Michelle's body language and expression in one, and I liked the angle of Jacques face and body language in a different photo...so I decided to combine  them for this painting! See if YOU can spot the differences! 

Here are my reference photos I used for this painting... 

STEP #3 SETTING UP MY PAINTING SPACE

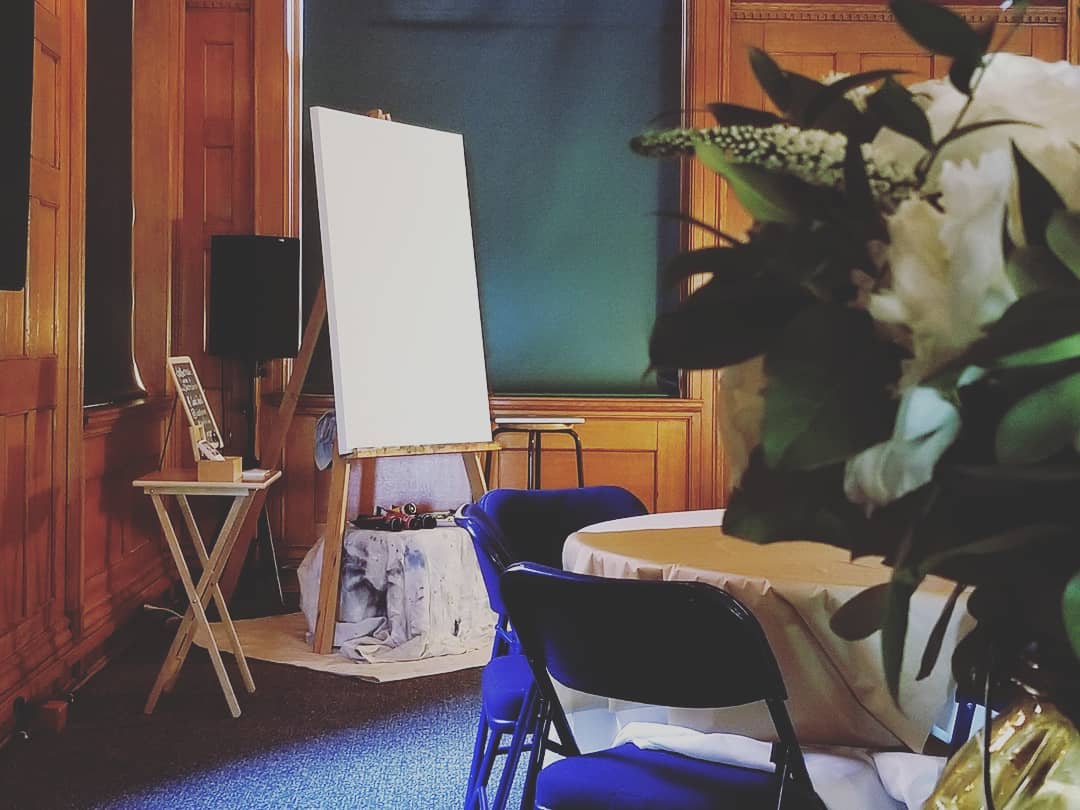
In this case I had plenty of time to set up at the reception after taking photos because they had their photos done before the ceremony. In some scenarios I will set up first because there is a time crunch taking photos right before the reception starts. Michelle has excellent taste and everything at the reception was beautifully decorated. She loves blues, greens and golds...so I knew ahead of time those were the colors I wanted to highlight in this painting! The great thing about painting as opposed to photography is the freedom to exaggerate and manipulate color, combine reference photos seamlessly and accentuate body language... from my BRAIN to the BRUSH and no editing program in-between!! ;) This is SO FREEING for me! 

Here is my space set up at the venue...

STEP #4 THE PAINTING FUN BEGINS! 

To be honest with you I DO get nervous before I paint because I don't know exactly how it will turn out or what challenges I will encounter along the way...

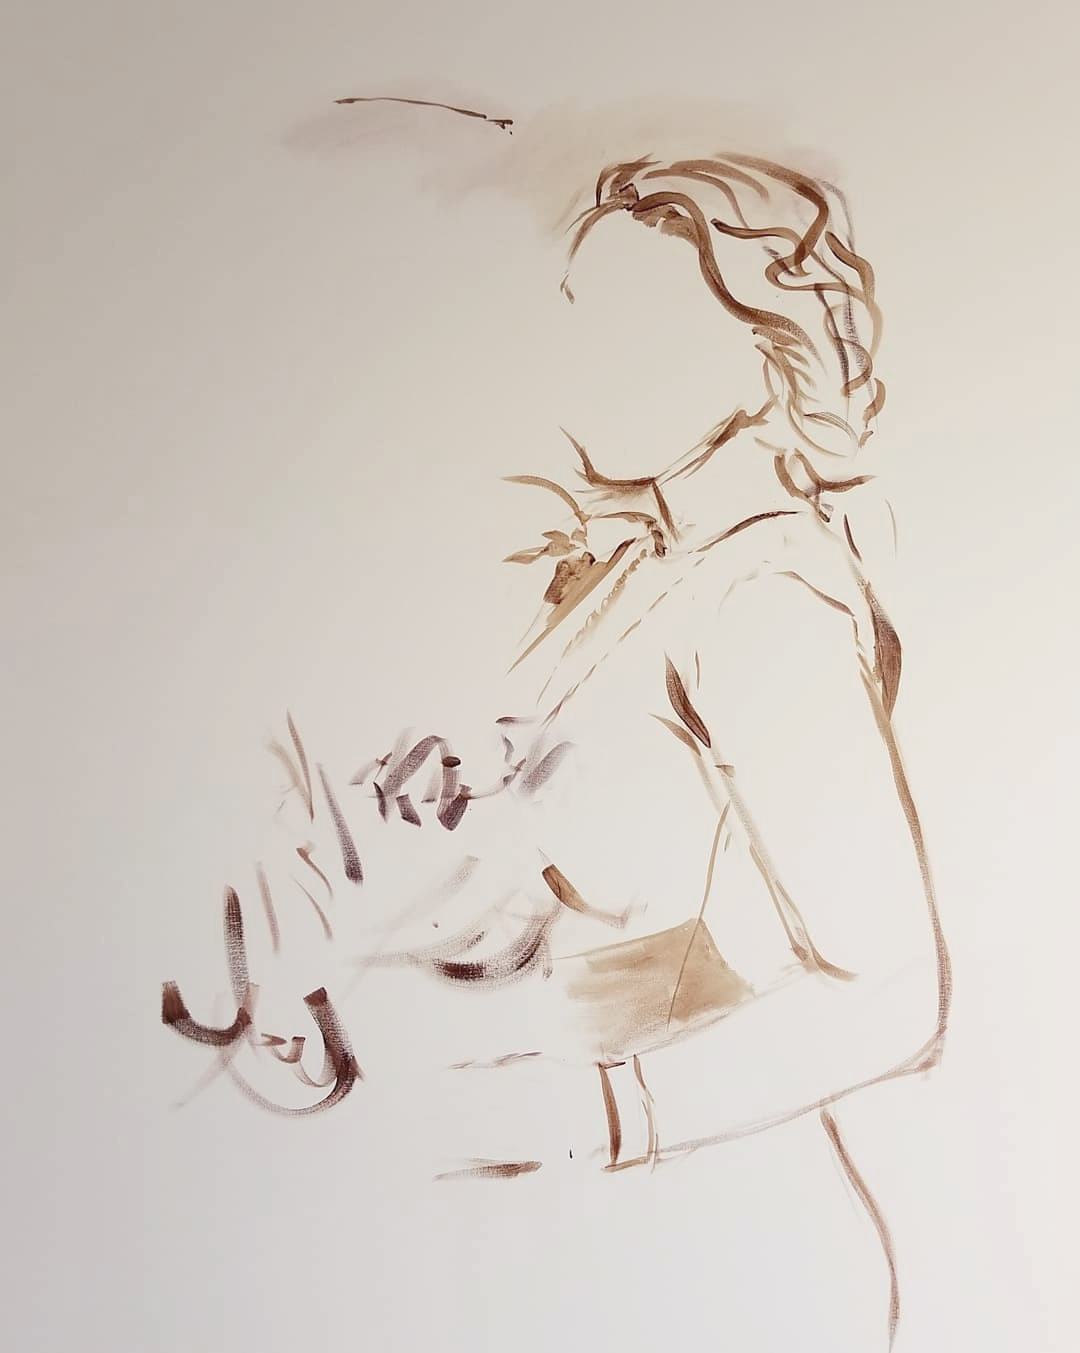
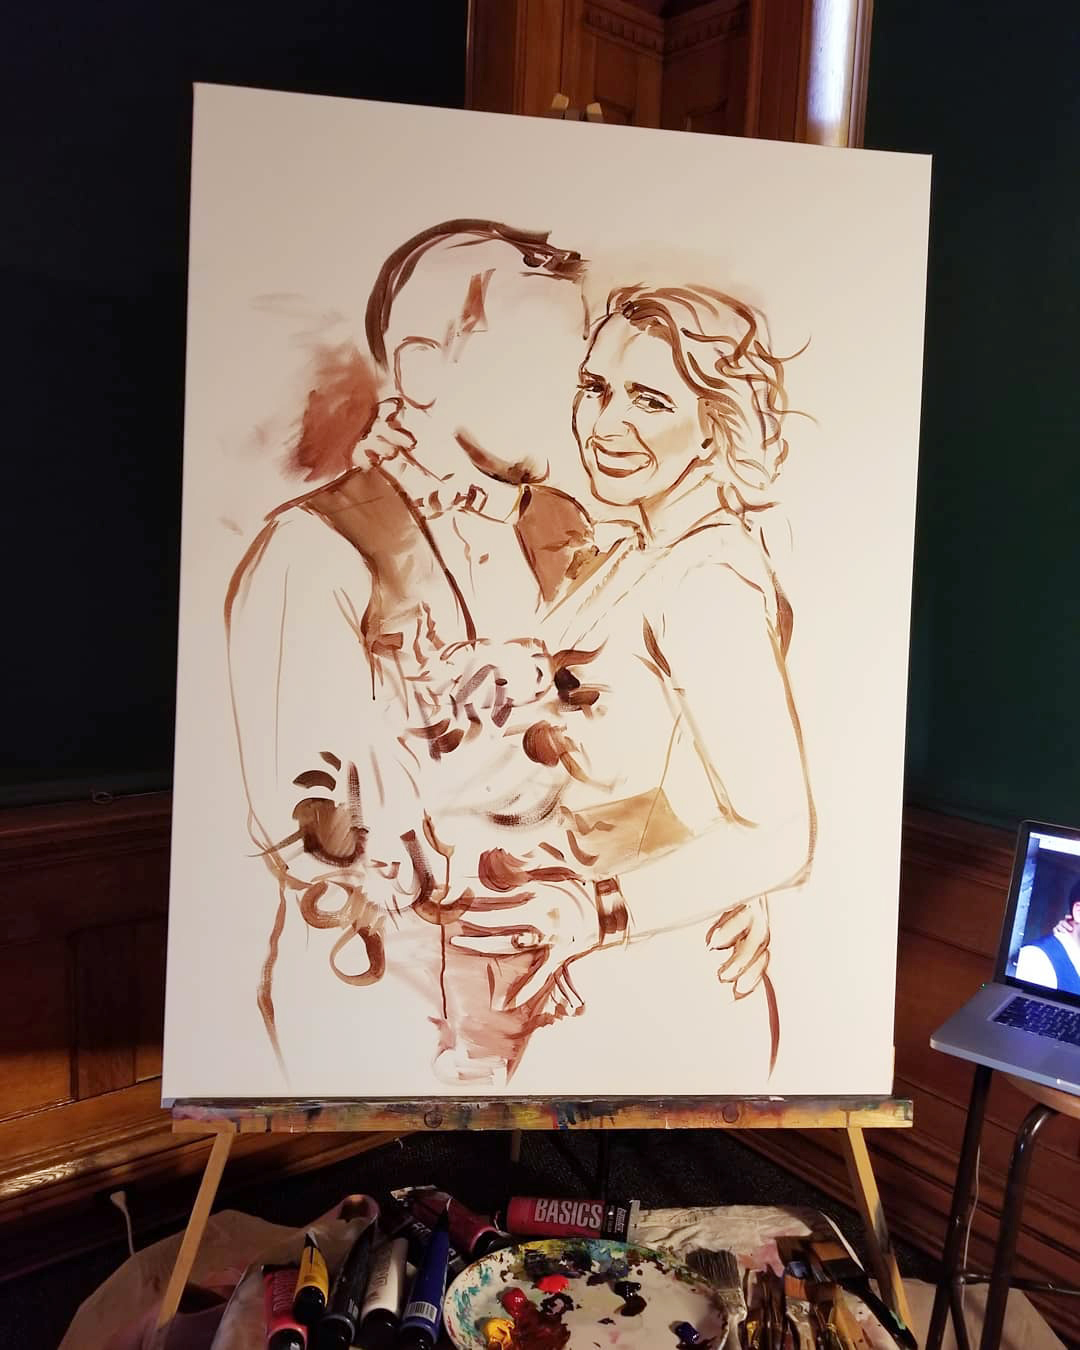
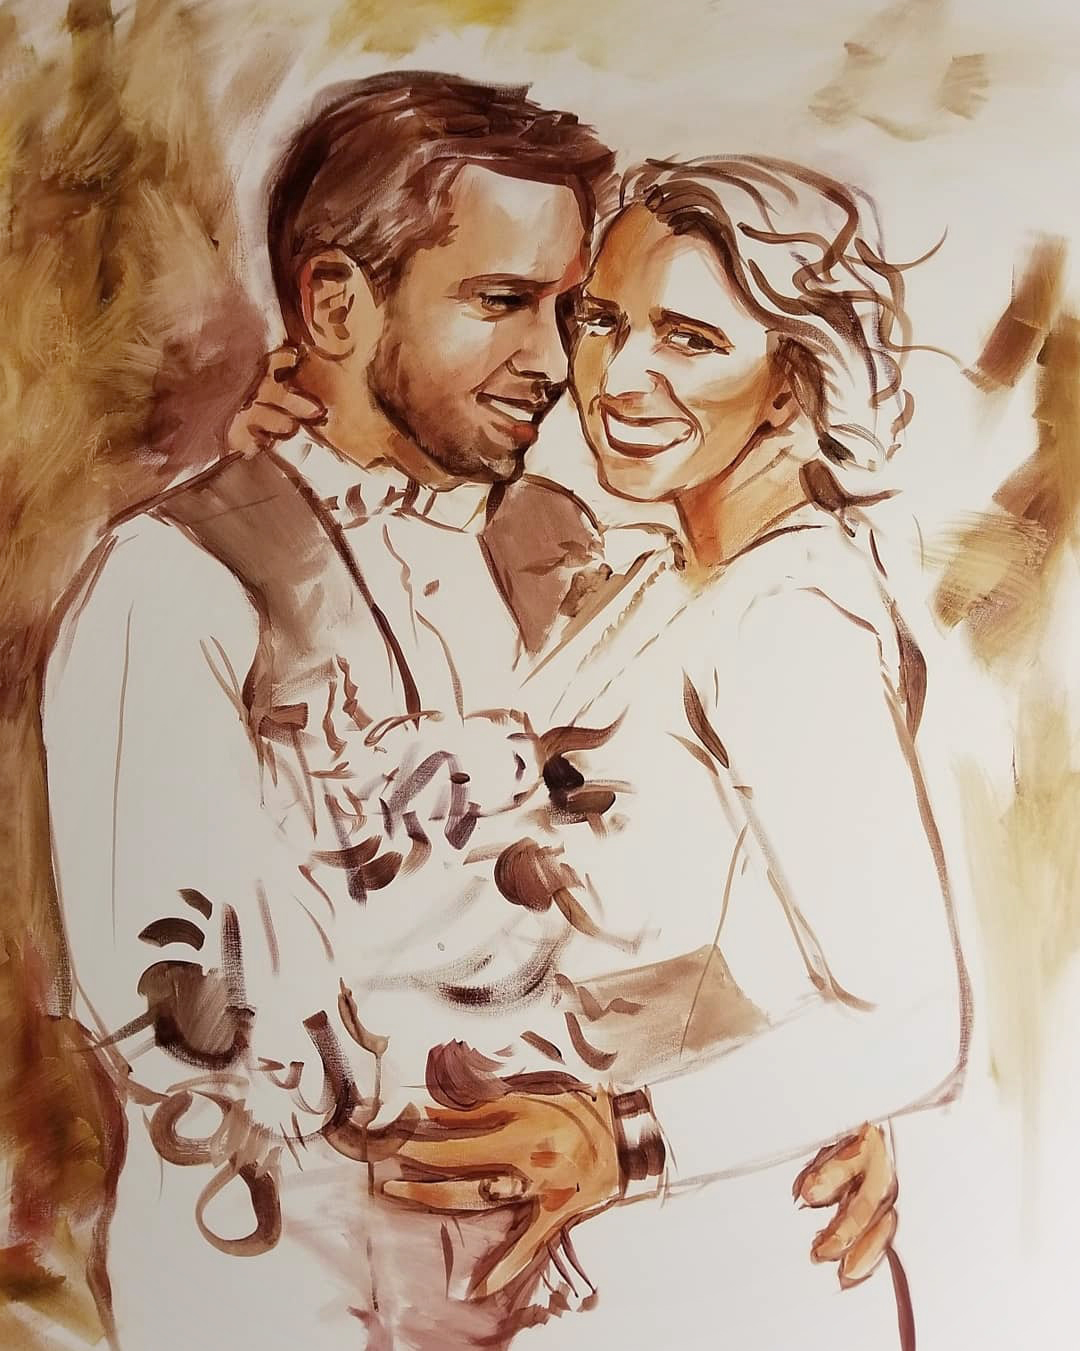
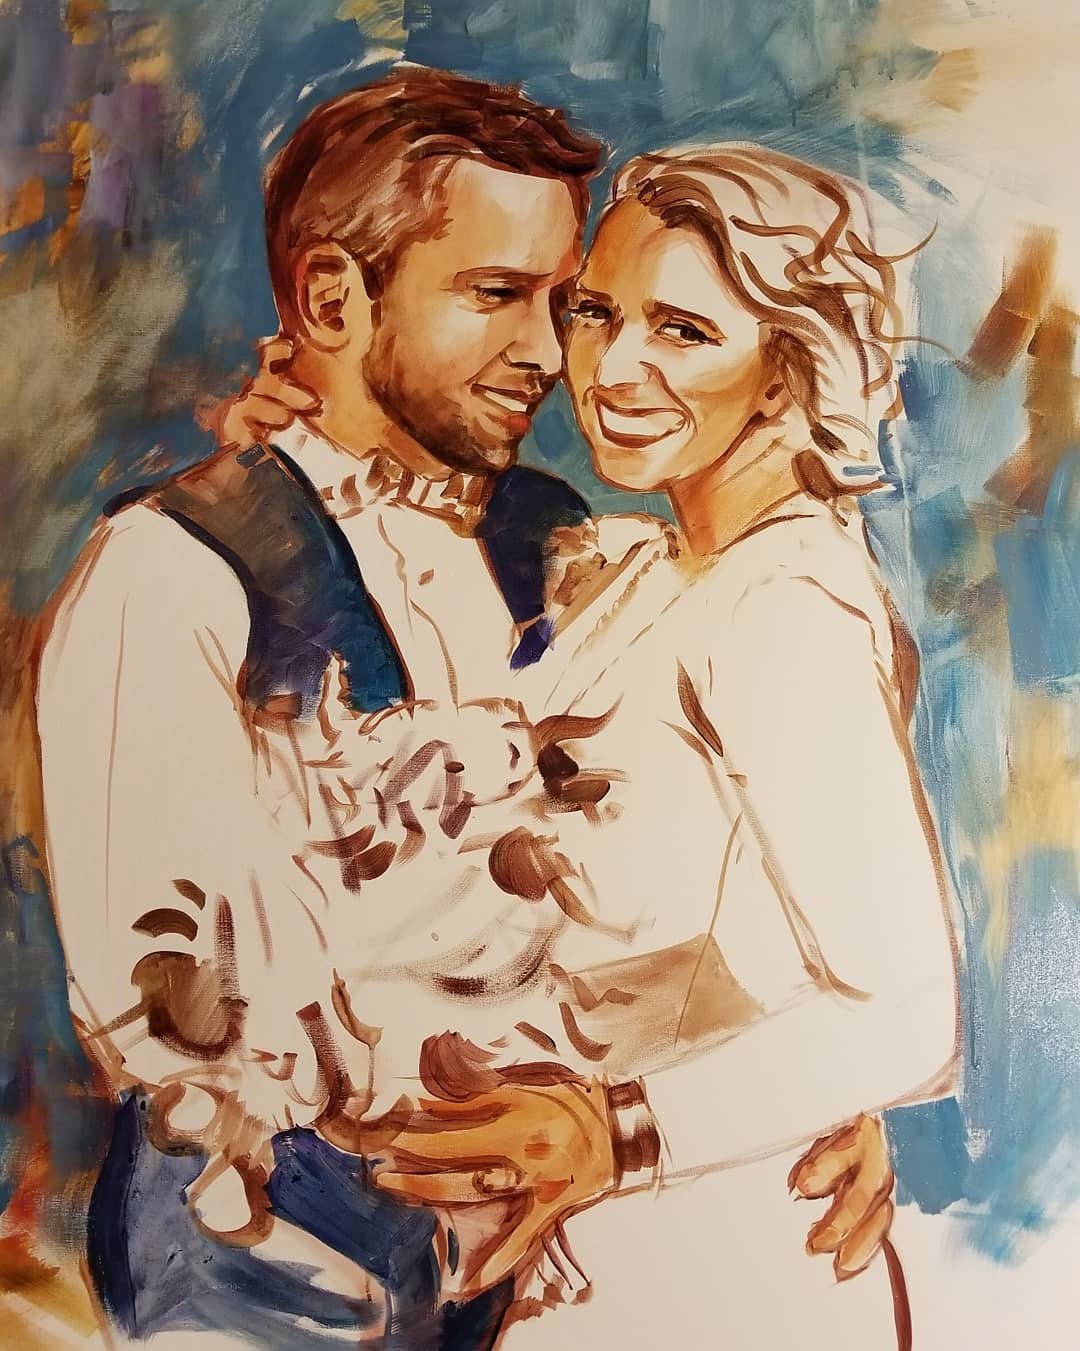
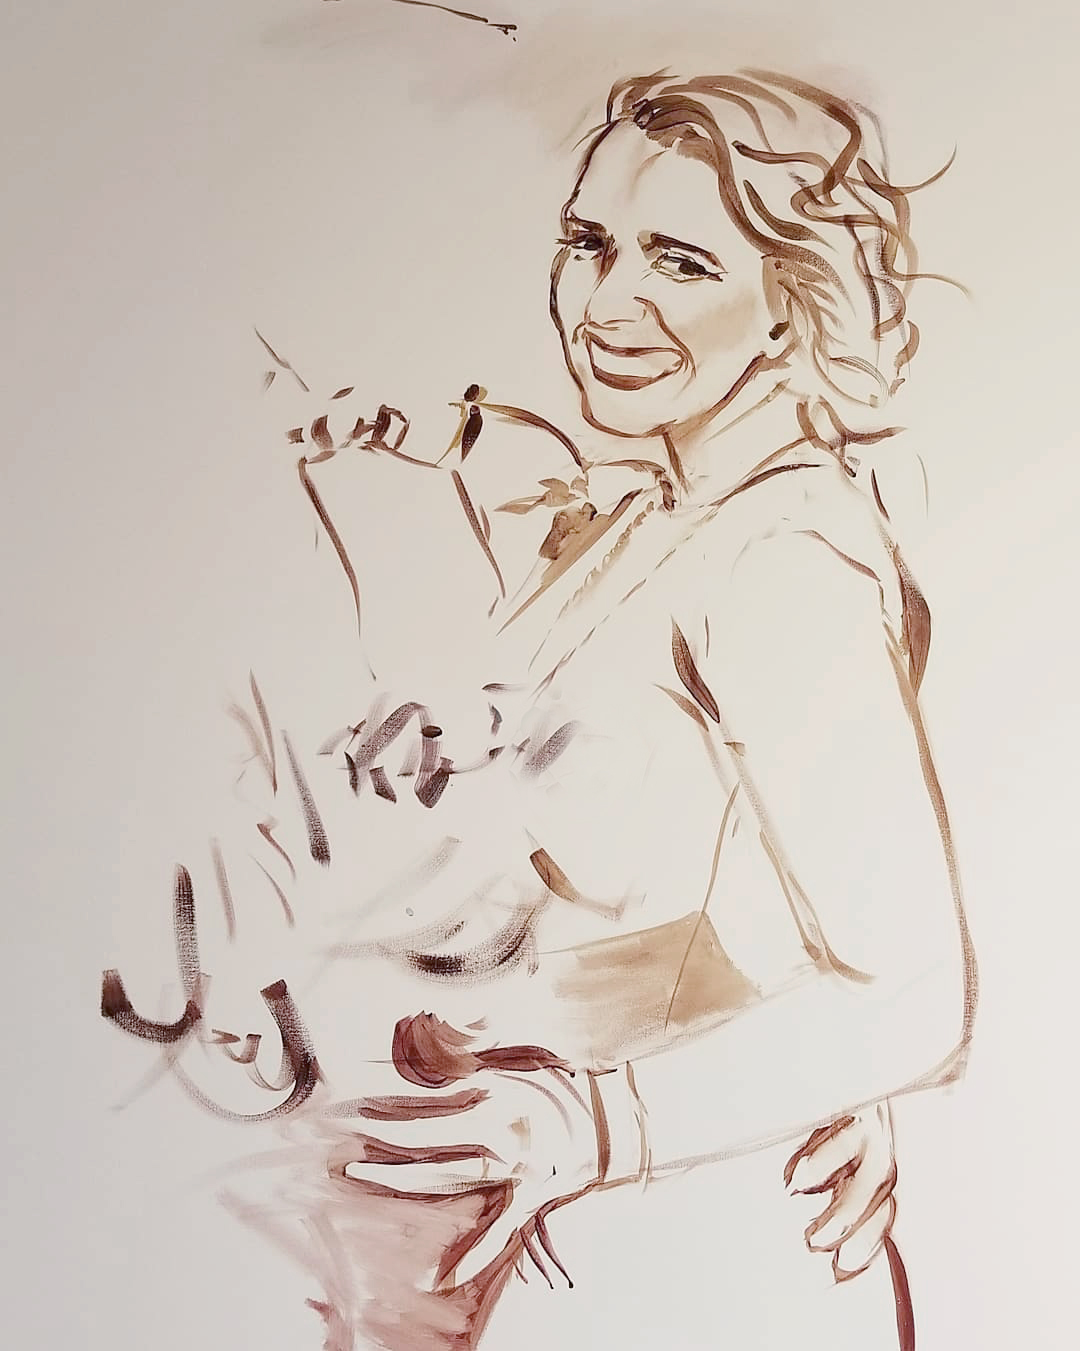
However, I have CONFIDENCE that everything will turn out great and I love sharing this gift GOD has given me.... this allows me to get past the jitters and focus on painting. I find that I work "Smarter" under pressure. Making quicker decisions about where to put the brush strokes allows me to have a really free painting quality - this makes the portrait come alive! If I'm painting in my studio it might not have the same fresh, exciting quality that a performance painting does. Here are some photos of the progress from this painting! 

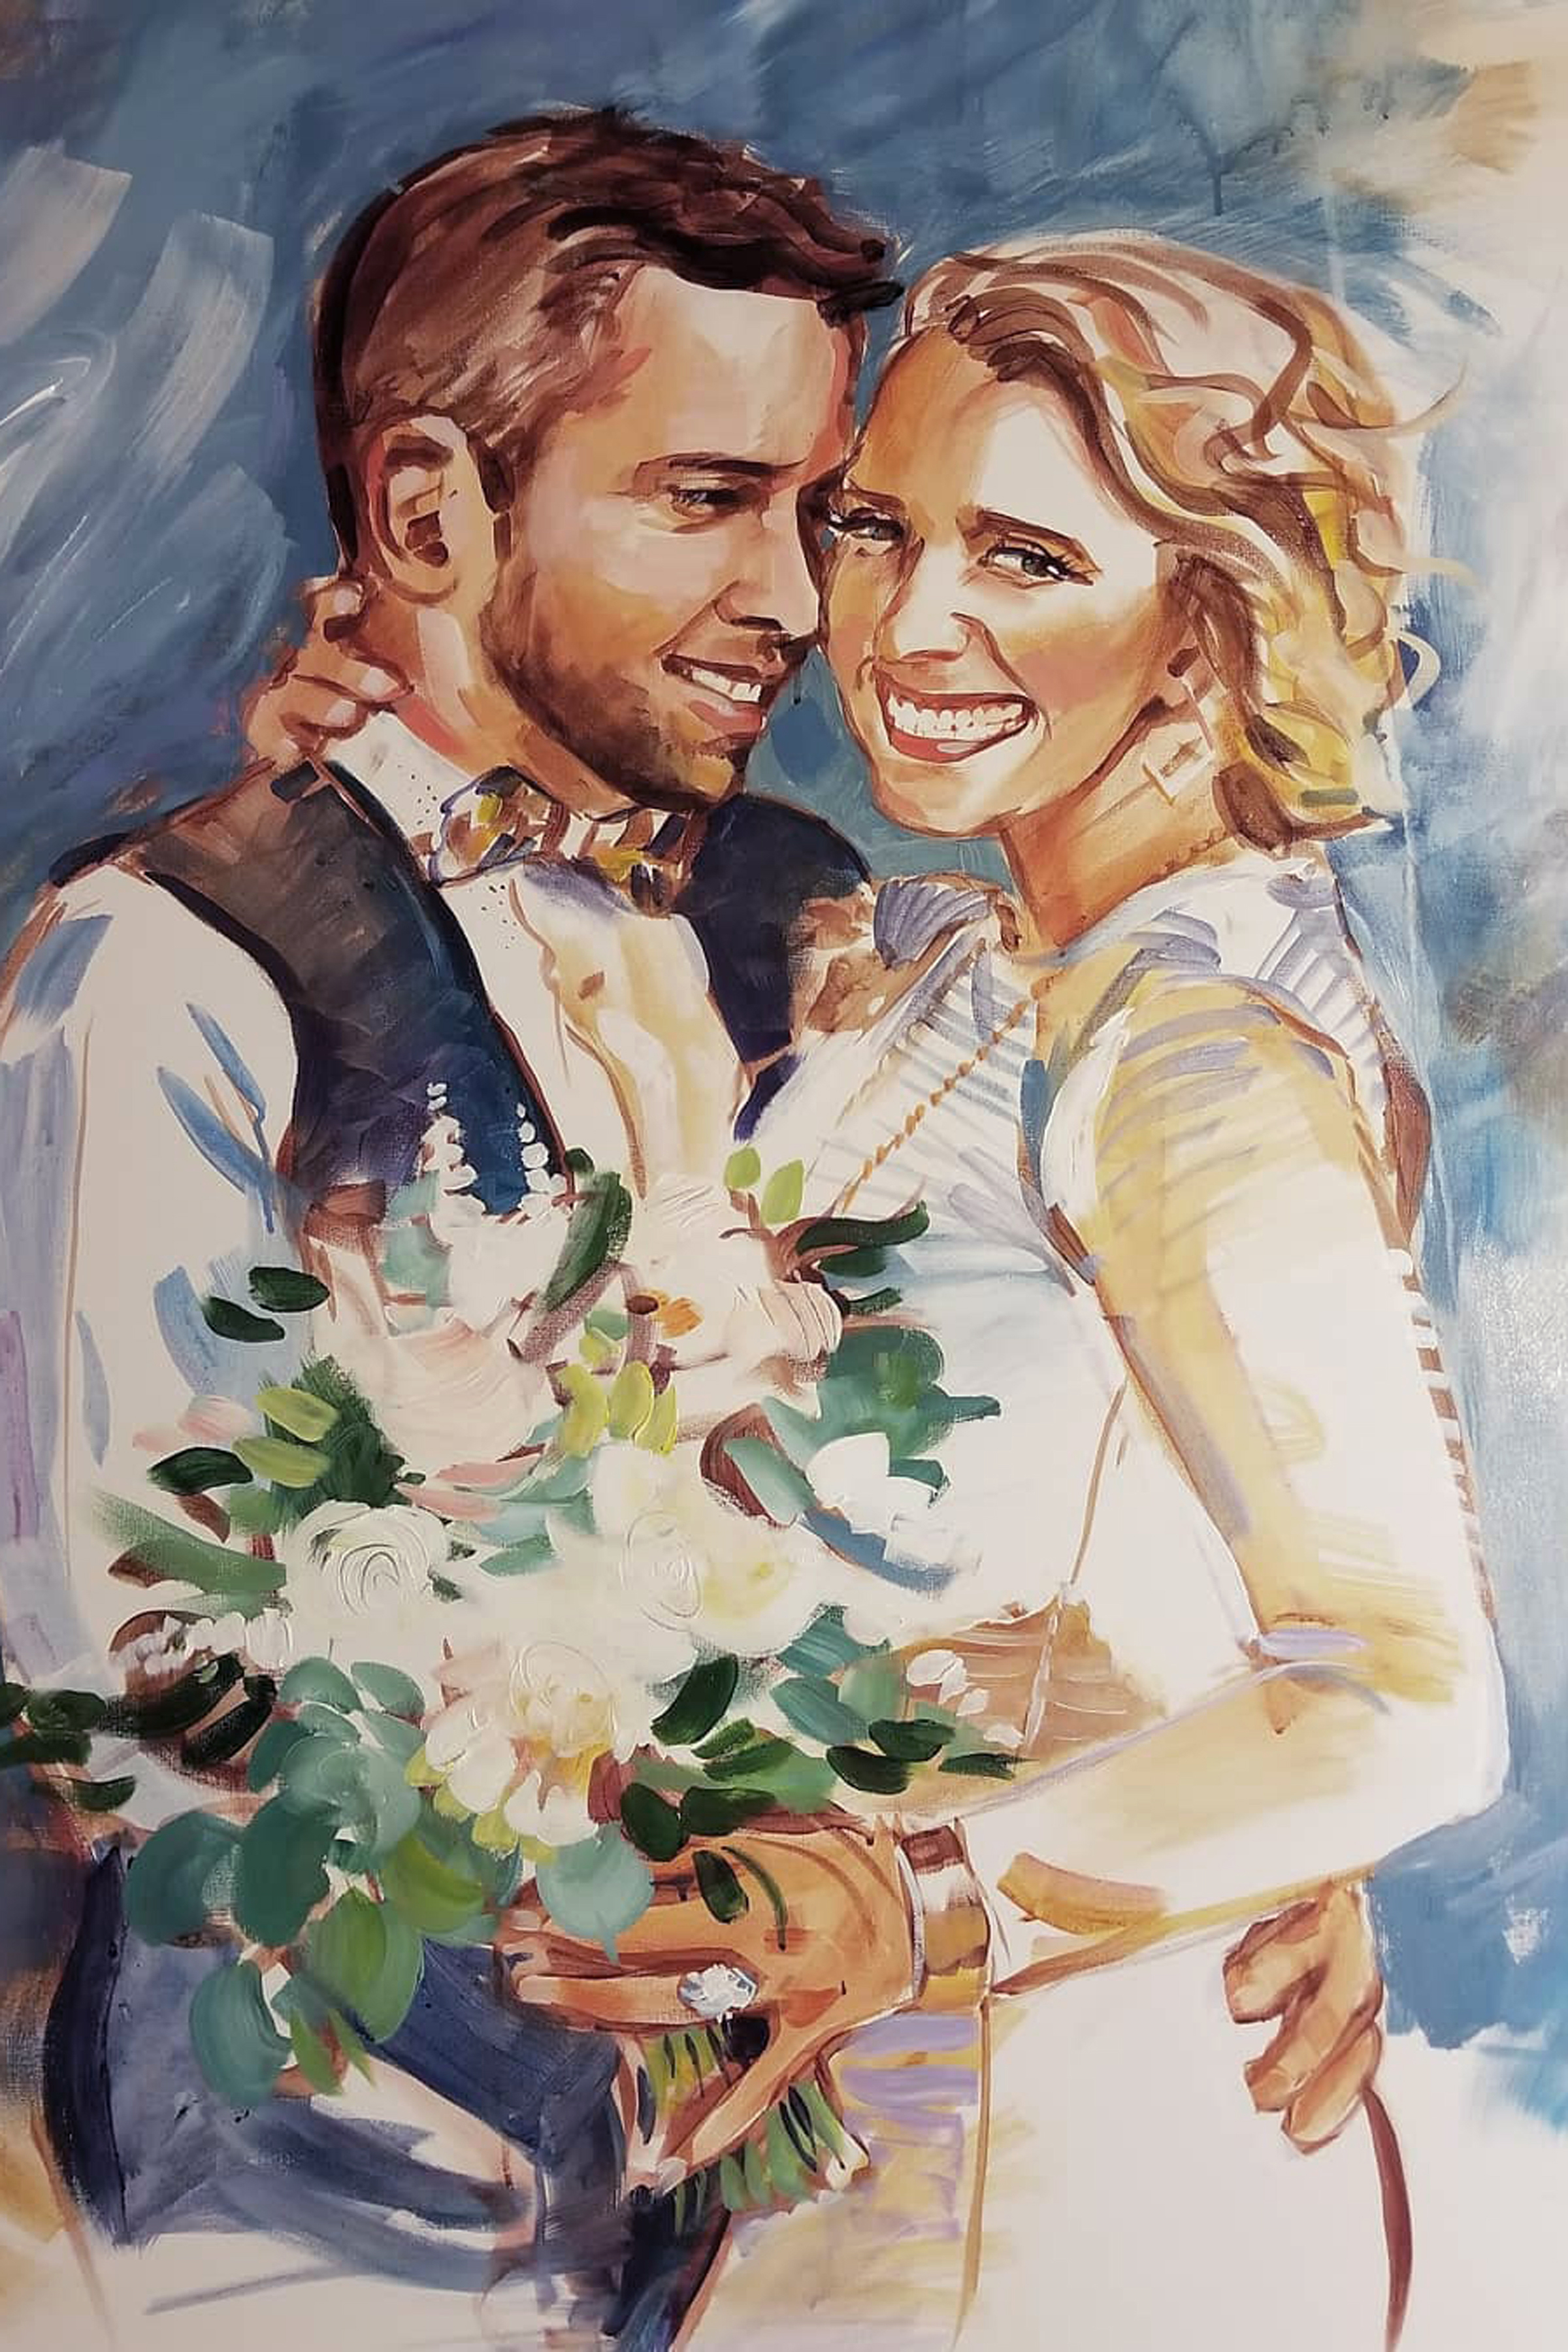
STEP #5 THE FINISHED PIECE!

So...how do I know when the painting is done? I'll know when my gut tells me. My instinct as an artist will let me know when to stop without "overworking" the piece. I'll be done when the portraits LOOK LIKE the people I'm painting, When the values are accurate. When the colors are vibrant. When I've added some "icing on the cake" with details like the ring, flowers, and texture of her dress....and then I'll just get this feeling that tells me "Yep! It's time to stop now. Everything is just right." 

I LOVE that my couples get to KEEP their portrait the day of their wedding! No waiting for photos to be edited or printed. I use acrylic paint so it will dry quickly and they can take it home that night. They get to hang and enjoy this piece even before wedding photos are posted. So fun! 

To all my couples who have graciously asked me to paint at their weddings: THANK YOU for being vulnerable enough to trust my interpretation of your face, body, and beauty! It has been my pleasure to work with you and perform at weddings all over the country! Looking forward to many more in the near future! 

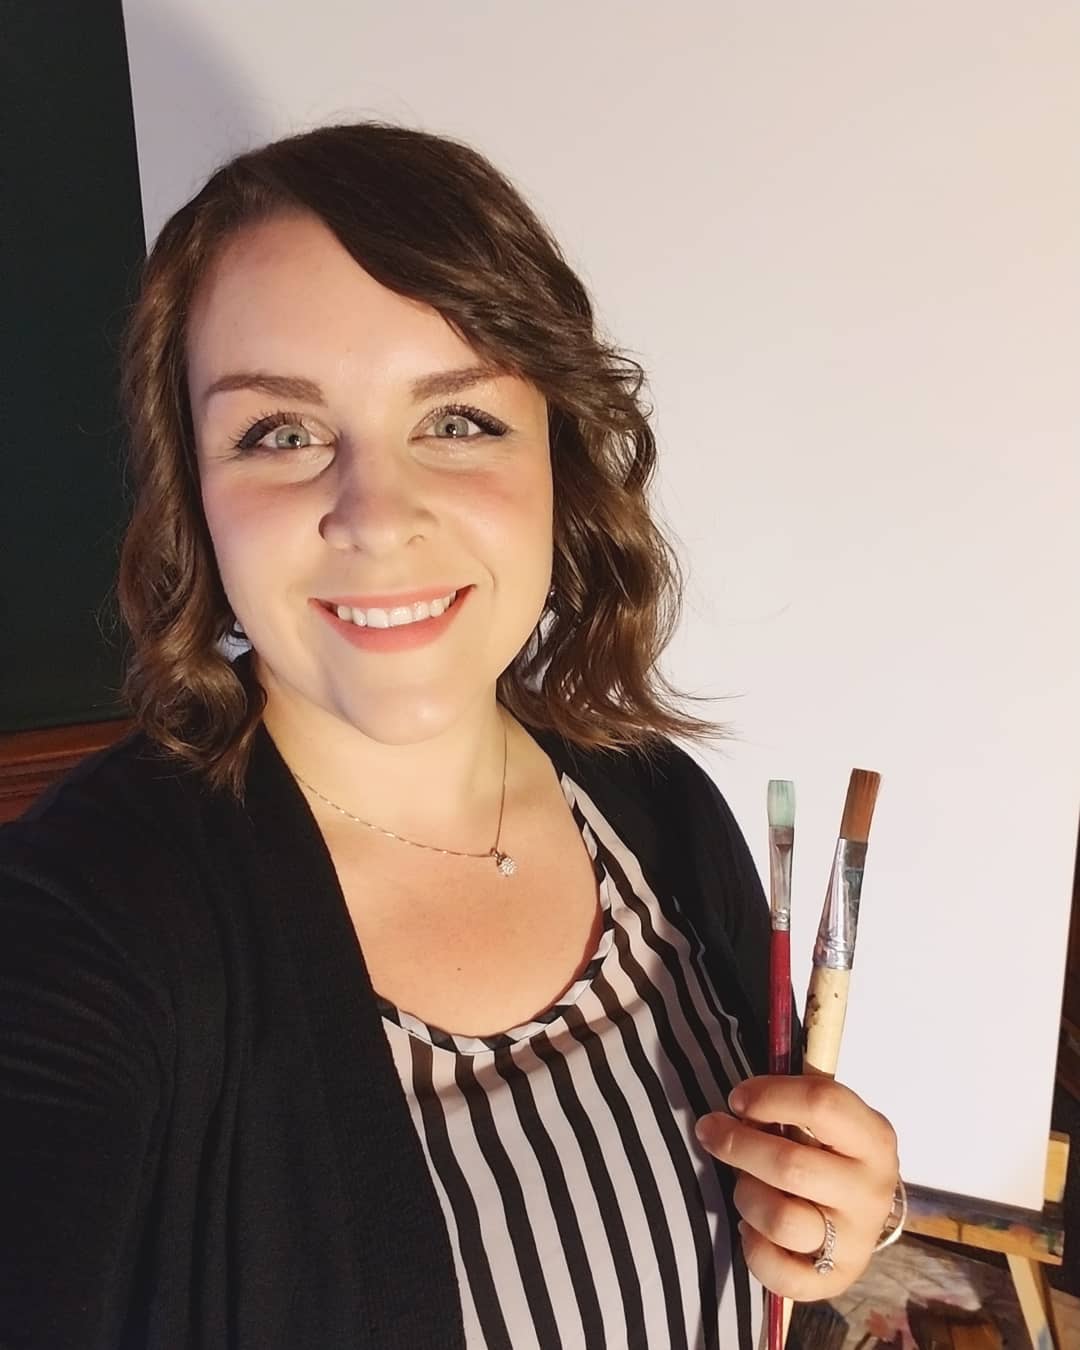
- Carita 

Event Painting

Comment